



Blog
How to Install an Electric Fence: Step-by-Step DIY Guide for South African Homes

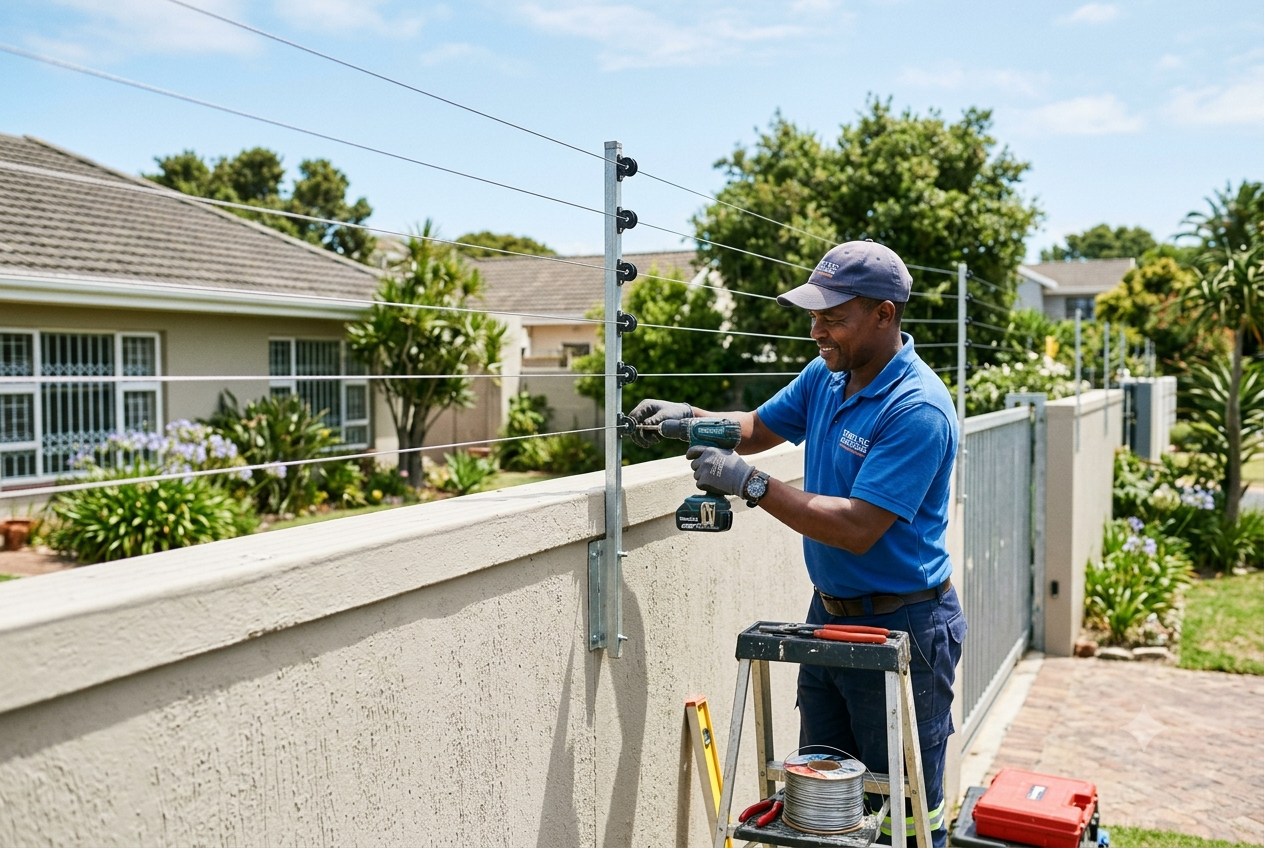
An electric fence is one of the most effective ways to secure a South African home, but installing one isn’t as simple as stringing wire along your wall. Between choosing the right posts, spacing your brackets correctly, and earthing the system safely, there’s a lot that can go wrong if you don’t follow the right process. This guide walks you through how to install an electric fence step by step, what South African law requires, and where a DIY approach hits its limit.
Is It Legal to Install Your Own Electric Fence in South Africa?
Yes, you’re legally allowed to install your own electric fence in South Africa. The Electrical Machinery Regulations under the Occupational Health and Safety Act don’t prohibit homeowners from doing the physical installation themselves.
The catch is the certificate. Every electric fence installed, altered, or re-installed since 1 October 2012 must comply with SANS 10222-3 and have a valid Electric Fence System Certificate of Compliance (EFC). This certificate can only be issued by a registered Electric Fence System Installer (EFSI) — not a general electrician, and not the homeowner, regardless of how well the fence was built.
In practice, this means you can install the fence yourself, but you’ll still need a registered installer like EFI to inspect it, correct any non-compliant elements, and issue the EFC before the fence is legally usable. Without that certificate, you’re personally liable if someone is injured, your insurance may reject related claims, and you won’t be able to transfer the property without bringing the fence up to standard first.
What You’ll Need Before You Start
- Fence posts (galvanised steel, timber, or PVC-sleeved — see comparison below)
- Insulated brackets rated for electric fencing
- High-tensile electric fence wire
- A SANS-compliant energizer sized to your fence length and joule output limits
- Earth spikes (a minimum of 3, galvanised, spaced correctly)
- 20mm PVC conduit for cabling between the fence and energizer
- Warning signs (100mm x 200mm, yellow background, in at least two official languages)
- Post hole digger or auger, spirit level, wire tensioners, crimping tool, and basic hand tools
Step-by-Step: How to Install an Electric Fence
Step 1: Plan Your Fence Line and Check Local Bylaws
Walk the boundary you want to secure and mark out post positions. If your fence runs along a shared boundary wall, you need your neighbour’s written consent before angling brackets over their side. Check your local municipal bylaws too, as some areas have additional restrictions on top of the national SANS standard.
Step 2: Install the Fence Posts
Dig post holes at consistent intervals, generally every 2.5 to 3 metres for wall-top brackets, though this varies by fence type and wind exposure in your area. Set each post firmly with concrete footing so it won’t shift or lean under wire tension. Use a spirit level on every post as you go, since even small misalignments compound over a long fence run and pull your wires out of true.
Step 3: Fit the Insulated Brackets
Attach brackets to each post or along the top of your boundary wall. Upright brackets can be installed at any height, but angled brackets may only extend outward at a maximum of 45 degrees, and only on the inside of your boundary. Never angle a bracket into a neighbour’s property without their written permission.
Step 4: Run and Tension the Wires
Thread high-tensile wire through the bracket insulators along the full fence line, keeping consistent spacing between strands, typically no more than 100mm apart. Use tensioners at intervals to keep the wire taut. Live wires must sit at least 1.8 metres above natural ground level at any point, and free-standing electric fences may not exceed 450mm in height unless mounted on a wall of at least 1.5 metres.
Step 5: Earth the System Correctly
Drive a minimum of three galvanised earth spikes into the ground, spaced roughly 3 metres apart, well away from any other earthing systems on the property. Poor earthing is one of the most common reasons electric fences fail inspection, and it also increases the risk of the fence not tripping correctly when it should.
Step 6: Install and Wire the Energizer
Mount your energizer in a dry, secure, weatherproof location, away from anything flammable. In urban areas, the energizer output is legally capped at 8 joules under load. Run all cabling between the fence and the energizer through 20mm PVC conduit for protection, and connect according to the manufacturer’s wiring diagram. Never electrify barbed wire or razor wire — this is illegal under SANS 10222-3.
Step 7: Add Lightning Protection and Warning Signs
Fit a lightning protection unit between the energizer and the earth system to protect your fence and connected electronics from power surges. Then place your warning signs: 100mm x 200mm, yellow background, with the standard hand-and-lightning-bolt symbol, positioned at every corner, gate, and at intervals no greater than 10 metres in urban areas.
Step 8: Test the System
Switch on the energizer and test the voltage along the full fence line using a dedicated fence voltage tester, not your hand. Check every zone if your fence is split into sections, and confirm the energizer trips correctly if a wire is touched or shorted.
Step 9: Get Your Certificate of Compliance
This is the step that makes your installation legal. Contact a registered EFSI, such as the team at EFI, to inspect your fence against the SANS 10222-3 standard. They’ll flag anything that needs correcting and issue your Electric Fence System Certificate of Compliance once the fence passes. Keep this certificate safe — you’ll need it for insurance purposes and when you eventually sell the property.
Electric Fence Post Options Compared
| Post Type | Pros | Cons |
| Galvanised Steel | Strong, long lifespan, standard choice for wall-top and free-standing fences, widely available | Higher cost, can corrode over decades in coastal areas without maintenance |
| Timber | Cost-effective, easy to work with, good for rural or farm-style fencing | Shorter lifespan, prone to rot and termite damage, needs periodic treatment |
| PVC Pipe / PVC-Sleeved | Naturally insulating, resists corrosion and rot, lightweight and easy to install | Weaker under wire tension and impact, not suitable as a standalone structural post for most installations, UV degradation over time |
Frequently Asked Questions
Can I install an electric fence myself?
Yes, South African law allows you to physically install your own electric fence. However, the fence must still be inspected and certified by a registered Electric Fence System Installer (EFSI) before it’s legally compliant. Without that certificate, you carry full liability if the fence causes injury, and your insurance may not cover related claims.
How do you install electric fence posts?
Mark your fence line, dig holes at consistent spacing (generally every 2.5 to 3 metres), and set each post in concrete for stability. Use a spirit level to keep every post vertical, since misaligned posts pull wires out of tension over the length of the fence. Posts need to be solid enough to handle ongoing wire tension without leaning.
Can you use PVC pipe for electric fence posts?
PVC is sometimes used as insulating sleeving around posts or for cable conduit, and it has the benefit of not conducting electricity. However, standard PVC pipe is generally not strong enough on its own to serve as a structural fence post under sustained wire tension, especially for taller installations or longer fence runs. Most SA installers use galvanised steel or timber posts, with PVC reserved for cable protection and specific insulating applications. Speak to a registered installer before using PVC as your primary post material.
Is electric fence legal in South Africa?
Yes, electric fences are legal in South Africa for residential, commercial, and agricultural security, provided they comply with SANS 10222-3 and hold a valid Electric Fence System Certificate of Compliance. The fence must not exceed the legal energizer output for its area, may not electrify barbed or razor wire, and must have correct signage, earthing, and lightning protection. Fences installed before 1 October 2012 don’t require a COC unless altered, repaired, or the property is sold.
When to Call a Professional Installer
A DIY installation can save on labour costs, but electric fencing involves real safety risk if the earthing, wiring, or energizer setup is wrong. Consider calling in a registered installer if:
- You’re not confident with electrical wiring or earthing systems
- Your property has a complex boundary line, shared walls, or multiple zones
- You need the job done quickly and correctly the first time
- You want your Certificate of Compliance issued without a second visit for corrections
Get It Installed Right the First Time
Whether you tackle the installation yourself or want the entire job handled from start to finish, EFI Electric Fence Installers in Cape Town can help. As a registered Electric Fence System Installer, EFI supplies compliant materials, installs to SANS 10222-3 standard, and issues your Certificate of Compliance on completion — so your fence is not just up, but legally protecting your home from day one.